Showing posts with label Nail Polish. Show all posts

Thursday, September 12, 2013

Cookie Monster Nails!


Om nom nom nom, cookie cookie cookie? Yes, the Cookie Monster from The Sesame Street has made it to my nails and I'm about to show you guys just how easy it is to do this nail art look yourselves!

You will need:

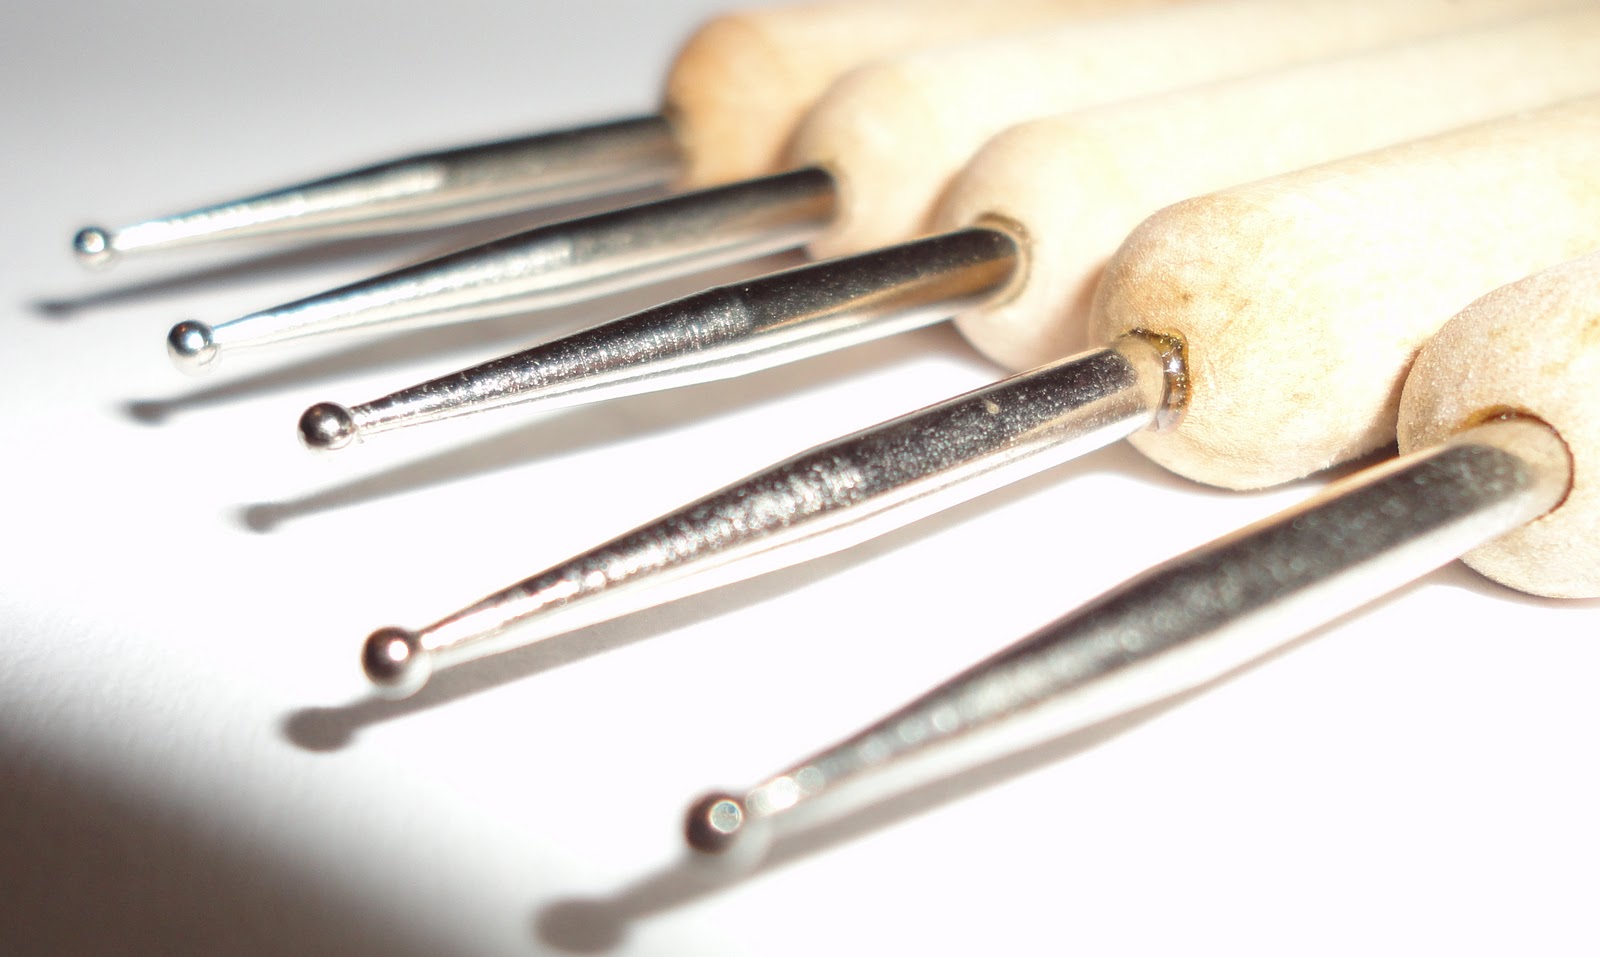
Dotting tools (which I talk more about here)
Small paintbrush/striper brush (which I talk about here again)
Clear base/topcoat
Blue Nail Polish - Catrice 400 Blue Cara Ciao
White Nail Polish - Rimmel London Nail Tip Whitener
Black Nail Polish - Rimmel London I love Lasting Finish 080 Black Cab
Light Brown Polish - Gosh 596 Miss Mole
Dark Brown Polish - Catrice 720 Bruno Brownani
Cotton Buds
Nail Polish remover

This is a really simple tutorial with only eleven easy to follow steps. It took me about a half hour to do this look from start to finish including drying time. Now enough preamble, down to the fun stuff!

The Cookie Monster Nail


Step 1: Take your blue polish and paint a semicircle of blue about half way down your nail.
Step 2: Take your largest dotting tool and dip it in the black polish. Dot this in two circles in the centre of the semicircles edge.
Step 3: Take your next smallest dotting tool, coat it in your white polish. Dab two white circles within the black ones.
Step 4: To make your Cookie Monster look as crazy as possible give him wandering eyes by dotting two small black dots looking in opposite directions inside the white circles.
Step 5: Take a very small brush and dip it into your black polish. Paint a smiling, wide open mouth just a little beneath the eyes.
Step 6: Dip a cotton bud in nail polish remover and clean up any messy bits. Use a clear topcoat to seal in and protect your design.

The half-eaten Cookie Nail


Step 1: Paint your entire nail blue.
Step 2: Paint a semi circle two thirds of the way down your nail in your lighter brown colour.
Step 3: Dip your small brush into your darker brown polish, use this to paint a jagged edge along the semicircle giving the cookie it's half-eaten look.
Step 4: Take your smallest dotting tool and dip it in your darker brown. Dot this at random inside the semi circle so that it looks like chocolate chips.
Step 5: Once again, dip a cotton bud into nail polish remover and clean up any messy bits. Then use your clear topcoat to give the nail a polished finish.

In eleven simple steps you've managed to nail the Cookie Monster nail art look. Now that's what I call tasty!


Wednesday, September 4, 2013

'Friends' Nails!

Could these nails be any more Friends orientated?! (Excuse me, channeling my inner Chandler!) But yes, the summer, for me, has meant watching reruns of Friends pretty much every evening. So the hit TV show was my inspiration for my nails this week!
Excuse the mess on my thumb nail, I would have used a cotton bud dipped in nail polish remover but I'm away from home at the moment and because I'd lose my head if it wasn't attached to my shoulders I forgot my nail polish remover (le gasp!).

If you've watched Friends as religiously as I have I'm sure you can guess what's on each nail. However, on the off chance you can't, let me break it down for you. The Friends logo stretches across my thumb and pinky nails, the Central Perk coffee shop sign is on my index, then there's the peephole from the door in Monica's apartment on my middle fingernail and of course no Friends mani would be complete without Smelly Cat on my ring finger!

Now, I must admit I used a lot of colours for this. Here is the list:
Nails inc - 411 Elm Park Gardens
Nails inc - 042 Hampstead Gardens
Nails inc - 210 Floral Street
Catrice - Blue Cara Ciao
Catrice - 700 Birdy Reloaded!
Gosh - 571 Wild Lilac
Rimmel London I love Lasting Finish - 030 Double Decker Red
Rimmel London I love Lasting Finish - 080 Black Cab
Rimmel London 60 Seconds - 805 Grey Matter

The only tools I used for this were my set of dotting tools and cocktail sticks. The details took about a half hour/ forty minutes to do but I had time and had always wanted to see if I could actually do a Friends manicure! If you had been painting this what iconic Friends related things/ phrases would you have used? I must admit, I had thought about painting "we were on a break" instead of Smelly Cat!

Tuesday, August 27, 2013

Cheeky Monkey Nails!


After buying two new Catrice Cosmetics Ultimate Nail Lacquers I decided to do a manicure with my new purchases! I actually really recommend Catrice nail polishes to anybody. They are €2.45 each in Penneys stores across the country. Catrice polishes are the best for those of us that want all the colours just because, who knows, you may one day need them! I personally love Catrice polishes because they are cheap, come in a huge variety of colours, paint on thick and pigmented while lasting a good week on my nails sans chips!

I bought two colours on my last trip into Penneys, 700 Birdy Reloaded! (a bright yellow colour with a slight shimmer to it) and 720 Bruno Brownani (a deep, dark brown colour). Both of these colours go on smooth and a little thick. The yellow bottle suggests using two coats for best coverage but I honestly find that with these colours, more often than not one coat does a perfect job!


For this manicure you'll also need a dotting tool and a striper brush which I talked about in this blog post. On top of those you'll also need nail polish colours in a lighter brown (I used Gosh 596 Miss Mole), white and black.

First we'll look at the banana nails:
Paint your index, middle and pinky fingers with your yellow nail polish
Once the yellow has dried take a striper brush and dip it in back paint. Here we are going to paint small black outlines of bananas starting from the nail bed and reaching out to the tips of your nails.
As you can see here, I am not that great at drawing bananas, but it's okay it's supposed to look a little more abstract than your average banana as it's just black outlines on a yellow base. Paint as many or as few as you want, I liked to paint some bananas curving in the opposite direction to the others but again, it's up to you how you want them to look.

Next up are your monkey nails! These are surprisingly easy to do and look really cute, plus they only take five minutes from start to finish. Firstly you need to take your dark brown and paint almost all of your thumb and ring fingernails with it, leave an arc of your natural nail unpainted at your nail bed, as you can see below. Then I want you to paint your lighter brown in an arc again from about half way down your nail like so.
Next we'll create the monkeys ears. Take your dotting tool and dip it in dark brown paint, dot it on either side of the dark brown arc. Then pick a smaller sized dotting tool and dip it in your lighter brown. Dot this light brown circle within the two small dark brown circles and voilĂ  you have cute monkey ears!
Now for the finishing touches that are going to take this oddly shaped brown blob and turn it into your cute monkey design! The eyes are simple, take your largest dotting tool and dip it in white nail polish. Dot the white in two circles, close to each other at the centre of the light brown arc. Take a smaller dotting tool and dip it in black. Once the white has dried dot a small black pupil inside each eye. The nostrils are just a little below the eyes. You take your smallest dotting tool and dip it into your black once more. Then you just place two small dots beneath the eyes and you have painted your little monkey.
Simple, right? Obviously you can use different colours, go crazy! Have purple and blue monkeys on your nails, they are your nails after all! Once you've done the above steps just make sure to use a good top coat to keep your nail design protected.


Here is a photo of how this design turned out on me. I really enjoyed doing this manicure as it's super easy and not at all time consuming. The best part of all was that I didn't need to spend a fortune on lots of different expensive nail polishes!

Monday, August 26, 2013

Nail Art Tools!

A few people have asked me lately how I do my nail art designs so I've decided to tell you all exactly what I use so you can try them out yourselves!


  1. Dotting Tools

Dotting tools are easily found pretty much anywhere on the internet. You can pick up a nice varied set of them for as little as €1.15 on ebay like these. However, if you for some reason don't like using your credit card online like me then you can pick up the above set in the Art & Hobby shop in Stephen's Green shopping centre in Dublin for about €3, I'd imagine you should be able to purchase them in any craft shop for a reasonable price.

Dotting tools are just double ended sticks that have metal pins poking from either end. These pins have various sized spheres at the end of them. These spheres are then dipped into your nail polish and dotted on your nail. This leaves a perfect circular dot on the nails surface.

Alternatively if you decide you don't want to commit to spending your precious euros on an artistic whim, here's a few examples of handy household items that you can use instead of a dotting tool:
  •  cocktail sticks (for smaller dots)


  • Bend a bobby pin out (you can use either end to dot with)

  • Stick a pin into the eraser of a pencil (you can use the end of the pin to dot away)

2.  Striper Brushes


Striper brushes are again, easily found on the internet. If you want a large varied set that have brushes for different textures and techniques look here. They're for as little as €1.15 on ebay again. However, if you've searched high and low for a shop that sold them in Ireland search no more! Hairspray down Henry Street in Dublin has a wide variety of good quality striper brushes for about €5 each.


Striper brushes are paint brushes with thin heads that create perfectly smooth lines and stripes on your nails surface. I personally prefer a thin short brush head as it gives me more control when painting designs but it's really up to you what brushes you decide to invest in. Bigger brush heads like the fan brush above create different textured surfaces which leads to some creative nail art designs.


There are, as always, easy to find household items that double for striper brushes too. Although, I must admit even having just one proper striper brush in your collection is a great asset as it is handy when you want to do fine lines. However here are a list of alternative tools you could use instead of a striper brush:
  • cocktail sticks (dip in paint and draw along in the desired line, however cocktail sticks don't make the neatest lines because they have one wooden tip as opposed to smooth bristles)
  • thin paint brushes (i find that the bristles don't work as well with nail polish/remover in these)

  • nail polishes with striper brush heads built in, instead of the usual flat ones

3.  Masking Tape


This is an easy tool to find at home and is a great thing to have when you want to create a geometric design on your nails. You cut the tape into strips at the desired width and length for your design. After your base coat has dried fully you just place the tape where you want to and paint over it. Before this new coat has dried you remove the tape and see your new clean cut, geometric design.


4.  Cotton Ear Buds


We all have them in the dark recesses of some bathroom cabinet but have you ever thought to use them for cleaning off those messy outside the line bits of nail polish around your finger nails after you've painted them? Well now you know that when painting your nails cotton ear buds are definitely a must. However you could use a cheap make up brush dipped in nail polish remover and sweep it around your nail bed to remove that mess and clean up your manicure!


5.  Sponges

Sponges are great for creating soft textures on your nails and cute designs, for examples check out my tutorial that uses a sponge here. You can see there that I used a sponge for a quick and easy nail art look, which is what makes having a sponge with you when doing nail art a great idea. Your sponge needn't be pricey, I bought this set in Penneys that came with three nice sized sponges for €4 but you can literally use any sponge at all, sure chop off the corner of the sponge in the kitchen sink!
I hope this helped all you fellow nail art lovers in your quest to have the craziest nails.